Last updated November 21, 2026
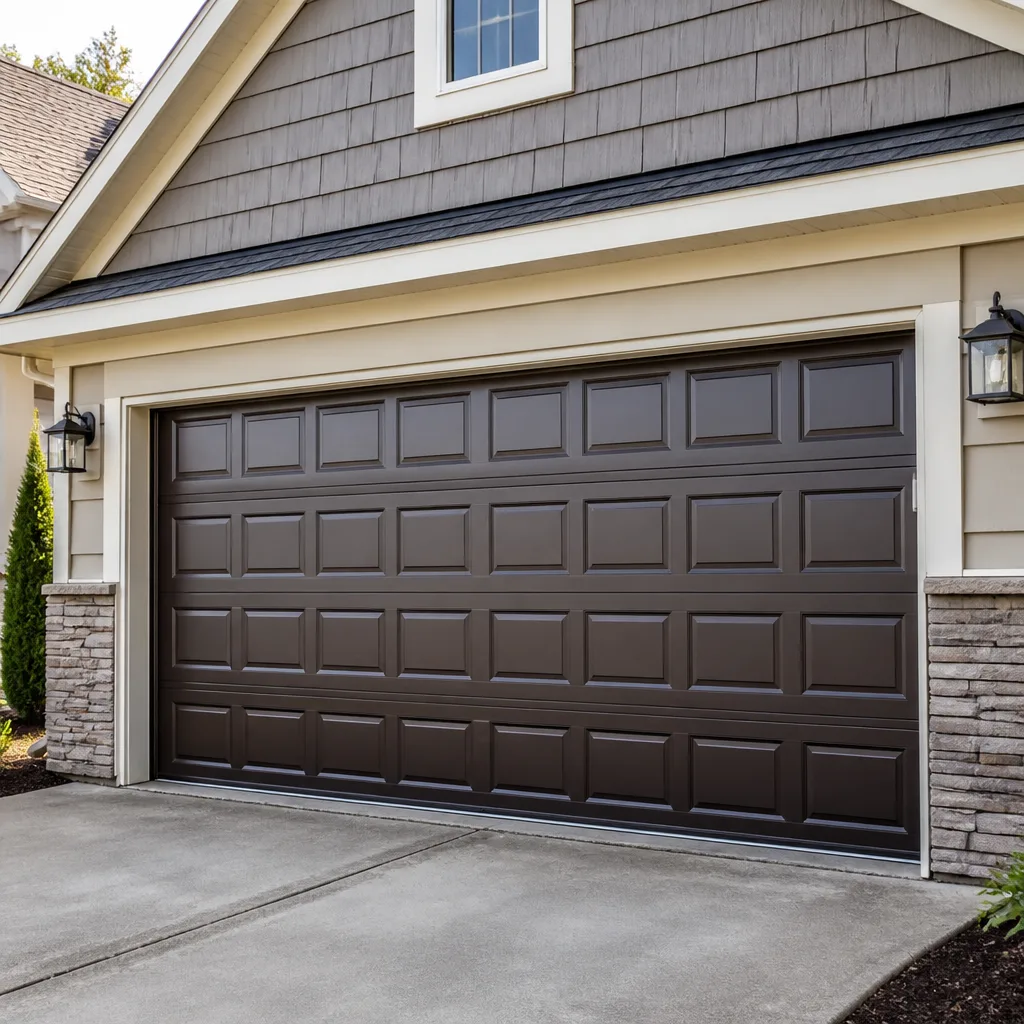 Raised-panel steel
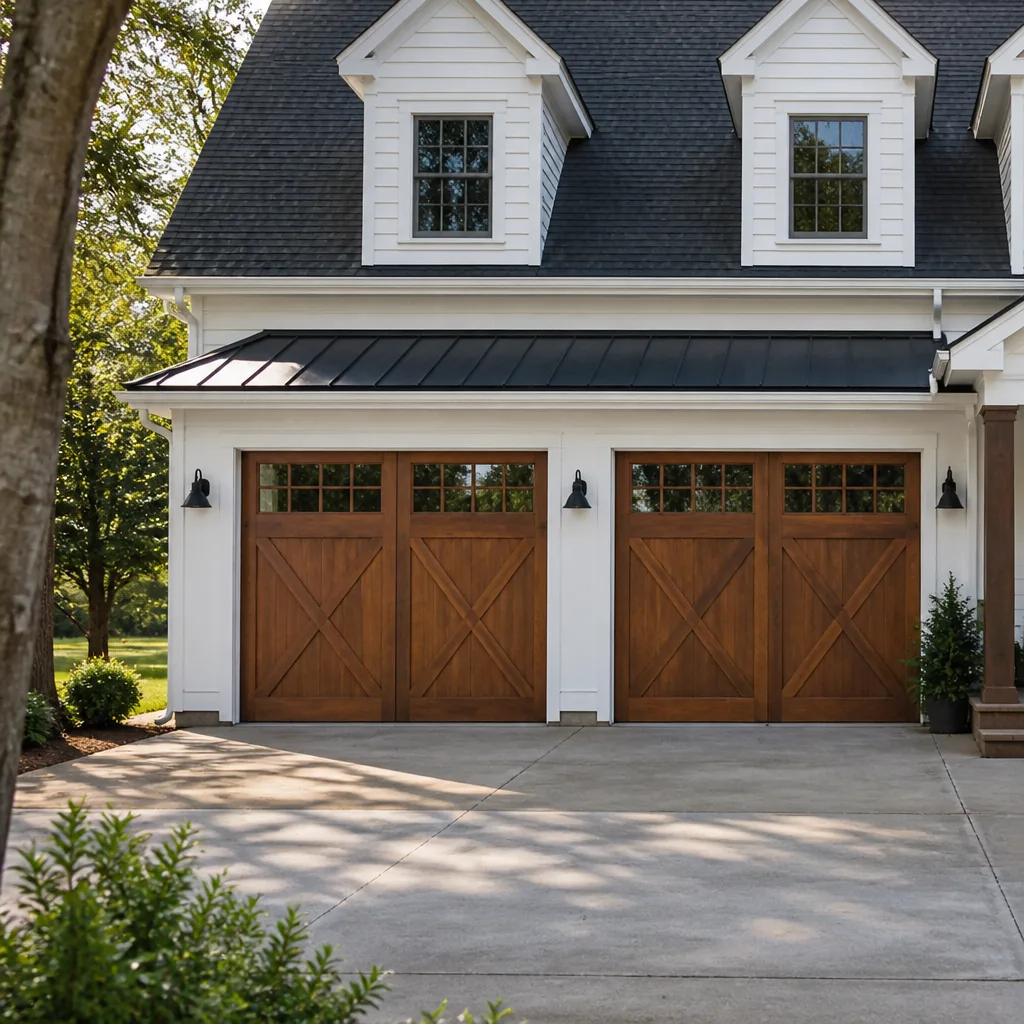 Carriage house
 Modern flush
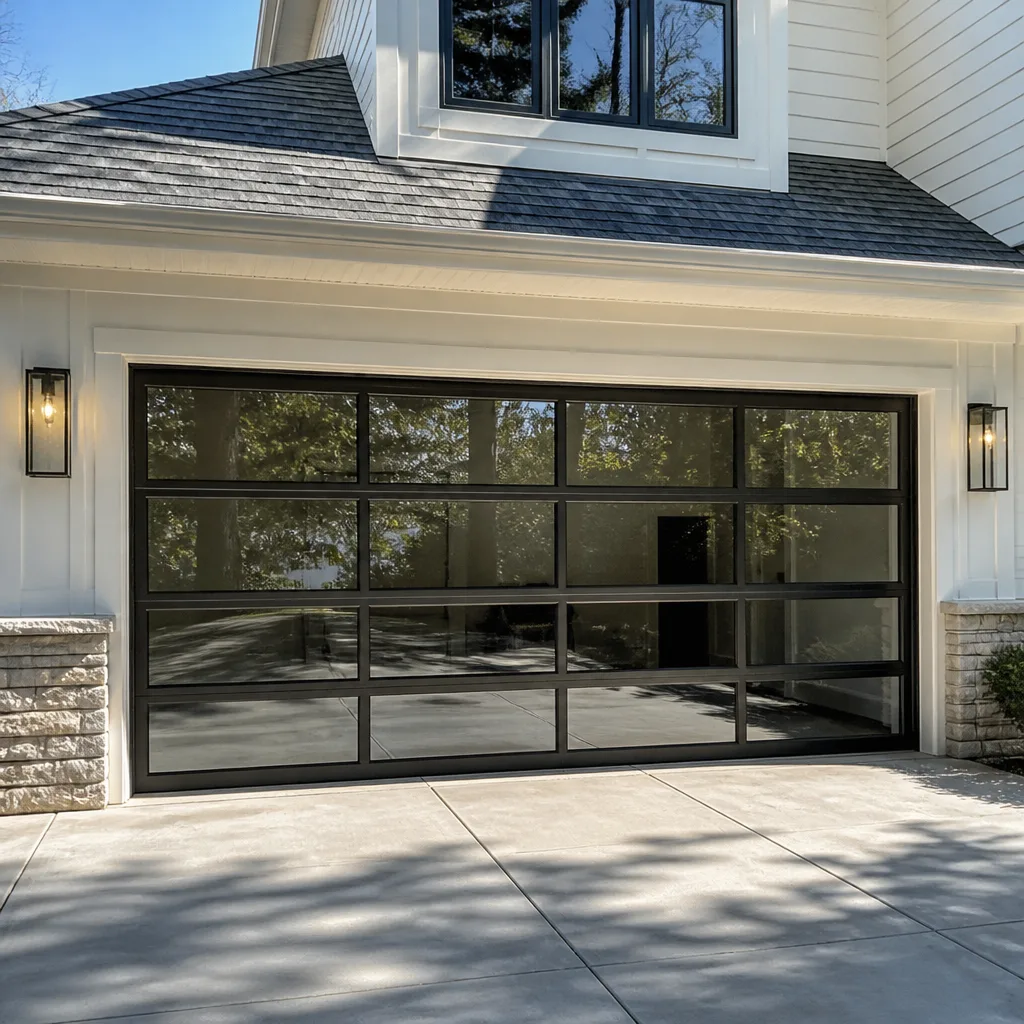 Full-view glass
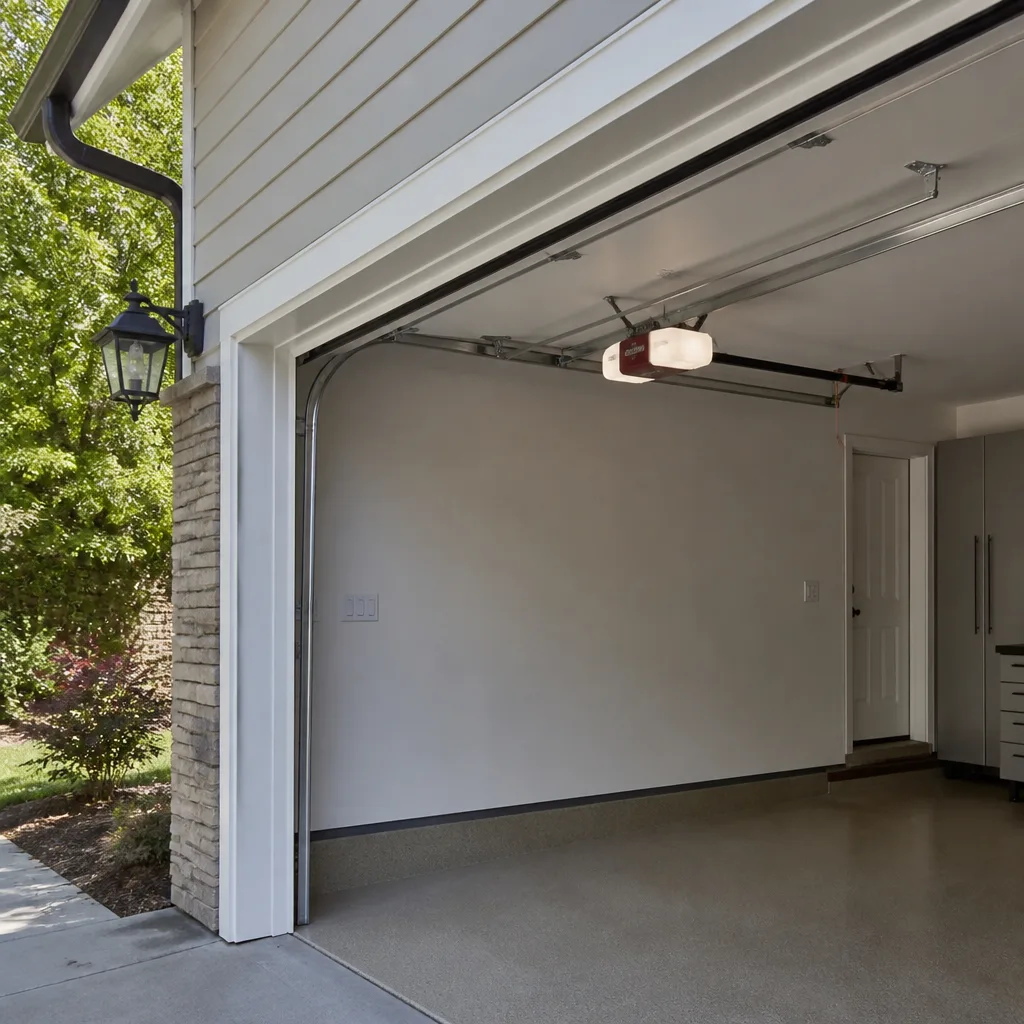 LiftMaster openers
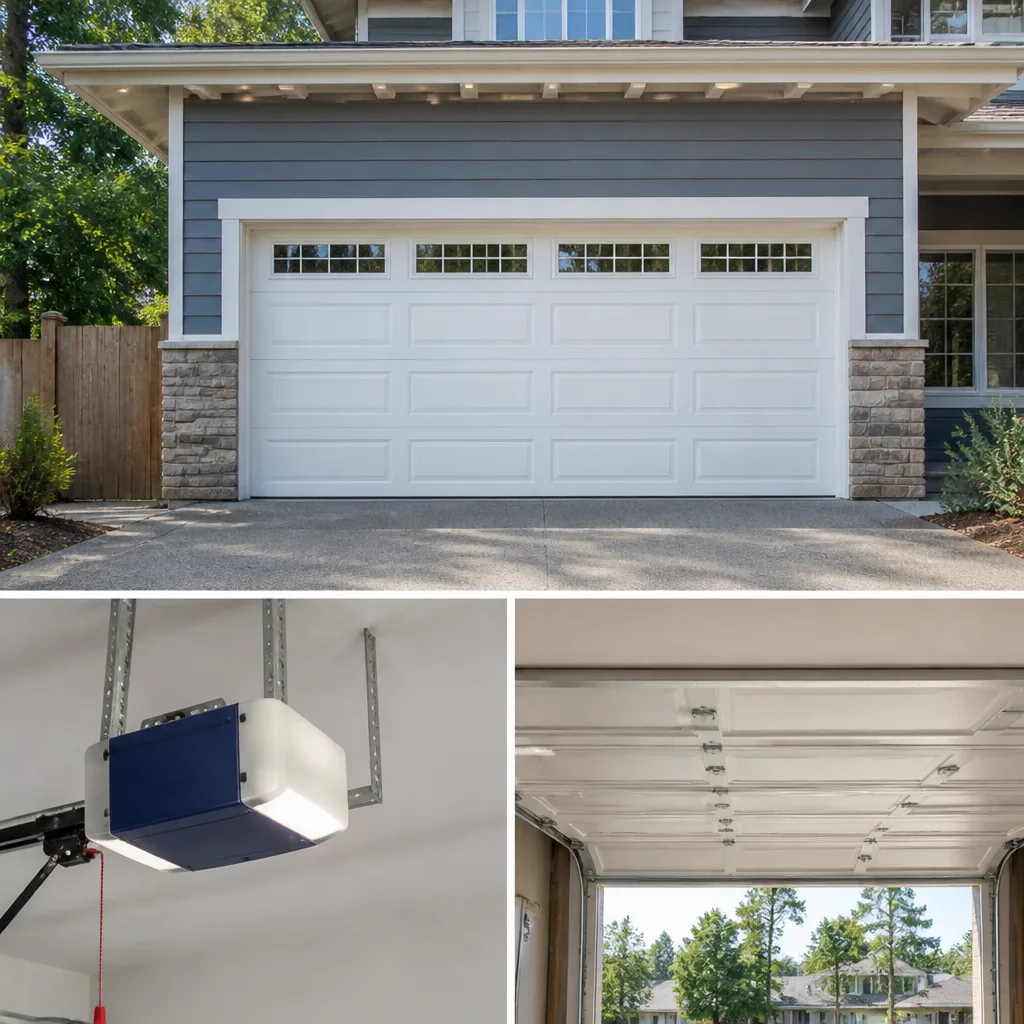 Chamberlain openers
Full 25-point door and opener safety check with every visit - springs, cables, rollers, tracks, and your LiftMaster or Chamberlain opener included
You get a price before we start. It does not change when the pro arrives.
Get your free estimateGarage Door Repair Maintenance Checklist for Hamline-Midway Homeowners
The number-one cause of garage door service calls in Minnesota isn’t a broken spring. It’s a problem that was visible and fixable the previous October, ignored, and then catastrophic by December. Cold doesn’t create most garage door failures here; it exposes them. Weatherstripping that felt soft in September turns hard and cracks in January. A cable with a few frayed strands gives way the first time it fights frozen grease. This guide gives Hamline-Midway homeowners a checklist built around what actually fails in a Minnesota winter, and the order to check it in. You’ll learn how to test auto-reverse the right way, which lubricants ruin plastic rollers, and how to spot spring wear from the ground without touching hardware.
Quick Answer
A Minnesota garage door maintenance checklist should cover six pre-freeze checks: weatherstripping compression, bottom seal pliability, cable condition, roller and hinge lubrication with the correct product, a proper auto-reverse test, and a ground-level visual inspection of the torsion spring. Most of this takes under an hour and can be repeated each fall. Anything involving cables, springs, or the counterbalance system should go to a specialist, not a Saturday DIY session.
Styles & brands we work with
- Raised-panel steel
- Carriage house
- Modern flush
- Full-view glass
- LiftMaster openers
- Chamberlain openers
Table of Contents
- Why Minnesota Winters Break Garage Doors Differently
- The Pre-Freeze Checklist: What to Do Before the First Hard Freeze
- Testing Auto-Reverse the Right Way
- Lubrication: What Works and What Destroys Your Door
- Spotting Spring Wear from the Ground
- How Often to Check, Based on Door Age and Daily Cycles
- A Simple Monthly Routine for Hamline-Midway Homeowners
- Common Mistakes to Avoid
- When to Call a Professional
- Frequently Asked Questions
Why Minnesota Winters Break Garage Doors Differently
Hamline-Midway sits in a climate that swings hard between seasons. Summer humidity expands wood and swells seals. Then the first hard freeze arrives, often overnight, and every flexible material on your door goes rigid. Metal contracts. Grease thickens into something closer to wax. The door your opener lifted easily in September suddenly needs more force to break free of the ice at the bottom, and that extra strain lands on the spring, the cables, and the opener’s motor all at once.
What makes this area specific is the combination of temperature swing and road treatment. In Hamline-Midway, as across the Twin Cities, streets and alleys get sand and de-icing product through the winter. That grit gets tracked onto driveways and into the garage, where it works into hinges, rollers, and the bottom seal. Over repeated freeze-thaw cycles, grit mixed with moisture turns into a grinding paste inside a hinge knuckle or a roller bearing. That’s a slow failure that only shows up as a door that suddenly sounds like it’s chewing gravel.
A few things about a Hamline-Midway garage door that make preventive care worth the time:
- The thermal shock. A door warmed by the sun on a bright cold day, then hit by a night that drops well below freezing, expands and contracts faster than the hardware wants to. Seals and gaskets take the worst of it.
- The ice anchor. Meltwater running off a car pools at the bottom of the door and refreezes overnight. The bottom seal freezes to the floor, and the opener tries to lift a door that’s effectively glued down.
- Housing stock. The older homes common in Hamline-Midway often have detached or semi-attached garages that aren’t climate controlled. Doors on those garages see fuller temperature swings than an attached garage that shares a wall with the house.
- Driveway slope. Many local driveways pitch toward the garage, so water and grit collect right at the threshold. That’s exactly where the bottom seal and the lowest hinges do their work.
None of this means a garage door in Hamline-Midway is doomed every winter. It means the failure modes are predictable, and predictable failures are preventable with a checklist that’s timed to the season rather than to a vague “lubricate occasionally.”
The Pre-Freeze Checklist: What to Do Before the First Hard Freeze
The right time to run this checklist in Hamline-Midway is late September through mid-October, before the first hard freeze sets in. Once the ground and the door are frozen, several of these checks become much harder and a few become unsafe. Do the work while materials are still flexible and your hands still work in the cold.
1. The weatherstripping compression test
The weatherstripping around the sides and top of the door is a gasket. Its job is to compress against the door frame and seal out cold air. When it’s new, it squishes. When it’s worn, it hardens and stops springing back. Here’s how to test it without tools: close the door, then press firmly along the side and top seals with your thumb at a few points. You want to feel the material give and rebound. If it’s stiff, cracked, or leaves a gap you can see daylight through, it won’t seal through a Minnesota January. Replace it before the freeze, not after you notice a cold draft at the entry door.
2. The bottom seal pliability check
The bottom seal (sometimes called the astragal) is the rubber tube along the base of the door. It takes the most abuse in our climate because it sits in whatever meltwater and grit collect at the threshold.
- Open the door a couple of feet and look at the bottom seal along its full length.
- Press it with your thumb. It should feel like a soft rubber gasket, not a hard plastic strip.
- Look for cracks, flat spots, or a section that’s torn loose from its channel.
- Check that the door closes evenly onto the floor without a visible gap on one side.
A stiff or cracked bottom seal lets in cold air, water, and pests. In a Minnesota winter it also freezes to the floor, which adds strain to everything above it.
3. Cable tension inspection before cold makes metal brittle
You can inspect cables from the ground, with your eyes only. Look at the cables running vertically down each side of the door, just inside the tracks. You’re checking for fraying, kinks, or a cable that looks slack on one side. What you should not do is touch, adjust, or tighten them. Cables are under extreme tension and are part of the counterbalance system, which is the most dangerous part of any garage door. If a cable looks frayed or slack, stop and call a professional. Cold makes metal more brittle, so a cable that’s marginal in October can let go in December.
4. Lubrication, done correctly
We cover this in depth further down, but the short version: lubricate hinges, rollers (the metal kind), and the torsion spring with a proper garage door lubricant, not WD-40 and not thick grease. Do this before the freeze so fresh lubricant is in place when the cold makes everything stick.
5. Auto-reverse test
Run a correct auto-reverse test (details below). This is a safety system, and a door that doesn’t reverse is a genuine hazard. Test it before winter so you’re not discovering a failure in the dark on a cold morning.
6. Ground-level spring inspection
Look at the torsion spring above the door from the floor. You’re checking its color and shape, not touching it. We’ll walk through exactly what to look for in the spring section.
If any of these checks turn up something you’re not comfortable handling, a free estimate from Garage Door Repair Hamline-Midway will tell you what actually needs attention before the cold sets in.
Testing Auto-Reverse the Right Way
Most homeowners test auto-reverse wrong, and they get a false pass that leaves a real hazard in place. The auto-reverse system is what tells the opener to stop and go back up when the door meets resistance. It’s a safety feature, and in a house with kids or pets it’s the most important thing on the entire door.
The wrong method, which we see all the time, is to stand at the wall button or the remote and press it while watching the door. That tests nothing useful. The correct method uses the door’s own resistance sensor and takes two people, or one patient person, to do safely.
How to test auto-reverse correctly
- Open the door fully, then close it and let it settle so you’re starting clean.
- Place a solid object like a 2×4 laid flat on the floor in the path of the door, near the center. The industry-standard test block is about 1.5 inches high; a 2×4 laid flat is a close, common substitute.
- Press the wall button to close the door.
- Watch what happens when the door meets the block. It should reverse direction and return to open within a second or two of contact, without crushing the block.
- If the door stops on the block, presses down, or keeps trying to close, the system has failed the test. Stop using the opener and call a professional.
Also test the photo-eye safety sensors
Most openers from brands like Chamberlain and Genie use a pair of sensors near the floor at each side of the door. They shoot an invisible beam across the opening. If anything breaks the beam while the door is closing, the door should reverse.
- Close the door and watch the small indicator light on each sensor. It should be solid, not flickering.
- With the door open, wave a broom handle across the beam near one sensor while someone presses the close button. The door should reverse immediately.
- Wipe the sensor lenses with a soft cloth. Dust and road grit from a Hamline-Midway driveway collect on them and cause false trips.
If either test fails, the opener needs attention. This is not a “wait and see” item; it’s a safety system. For opener-specific issues, garage door opener repair is the call to make, and it’s a job a trained technician handles quickly.
Lubrication: What Works and What Destroys Your Door
Lubrication is where well-meaning homeowners do the most damage. The instinct is to grab whatever’s in the garage and spray it on the moving parts. That instinct is wrong often enough that it’s worth being specific about what to use and what to avoid.
What destroys plastic components
Many modern garage doors, including doors from manufacturers like Clopay and Amarr, use plastic or nylon rollers and plastic hinge bushings. These parts are designed to run dry or with a light, plastic-safe lubricant. Two products quietly ruin them:
- Petroleum-based sprays and greases. These can degrade certain plastics and nylon over time, making rollers brittle. A roller that was smooth in October cracks in the cold.
- WD-40 in its standard formula. It’s a solvent and water displacer, not a lubricant. It cleans away the factory lubricant and leaves the part drier than it started. It feels slick for a day and then attracts grit. On plastic rollers it’s the wrong call entirely.
Thick chassis grease is the other common mistake. It goes on easy and turns into a stiff, gritty paste in a Minnesota January, which adds resistance to every cycle.
What to use instead
- A garage door-specific lubricant, usually a silicone-based or lithium-complex spray clearly labeled for garage doors.
- For metal rollers, a light spray on the bearing is enough. Never grease the roller’s rolling surface.
- For hinges, a small drop of garage door lubricant in the knuckle where the pin sits.
- For the torsion spring, a light coat of garage door lubricant reduces coil noise, nothing more. It won’t fix a worn spring.
What never to lubricate
Don’t lubricate the tracks. The door’s rollers should roll freely inside the track, and grease on the track just collects grit and causes the door to bind. If a track is sticky, wipe it clean with a dry cloth. If it’s bent, that’s a repair, not a lubrication problem.
Also skip the opener’s rail and chain with anything heavy. A light, manufacturer-approved lubricant on the chain and a wipe-down on the rail is all an opener from a brand like Chamberlain or Genie needs.
Spotting Spring Wear from the Ground
Torsion springs do the heavy lifting on almost every modern garage door. They’re under enormous tension and they’re the most dangerous component on the entire system. You can and should inspect them from the ground with your eyes. You should never touch, adjust, or try to remove them.
We’ve seen too many homeowners try to “help” a tired spring with a wrench. That’s how people get seriously hurt. The spring stores enough energy to cause severe injury in an instant, and no part of this inspection requires you to go near it.
What to look for from the floor
- Color. A healthy torsion spring is painted, often a specific color that codes its size. If the paint looks faded, worn, or rust-streaked, note it.
- Gaps. A spring that has started to fail will show a visible gap between coils even when the door is fully closed. A gap means the spring is losing tension.
- Stretch or sag. Look at the spring’s overall shape along its length. A healthy spring is straight and even. One that looks stretched or bowed is telling you something.
- Rust. Hamline-Midway winters bring moisture and road salt grit into garages. Rust on a spring is a warning sign, not just a cosmetic issue.
- Sound. A creaking, groaning, or popping sound when the door opens is often a spring losing tension. This is a “call a professional” sound, not a “spray something on it” sound.
What not to do
Never put a wrench on a torsion spring. Never try to wind or unwind one. Never test a spring by lifting the door by hand to “see how it feels” while someone watches the spring. If your ground-level inspection turns up any of the signs above, that’s the moment to call. Spring repair is exactly the kind of high-risk work a trained technician with the right tools should handle, and getting it wrong can be worse than the original problem.
For a broken or worn spring, we typically handle this through garage door repair as a same-day or next-visit job once the right spring is in hand. Both torsion and extension springs are addressed, and the technician confirms which your door needs before any work starts.
How Often to Check, Based on Door Age and Daily Cycles
“Lubricate your door once a year” is a rule of thumb that fits almost no one perfectly. A door someone opens six times a day wears at a different rate than a door that opens twice. Here’s a frequency guide matched to real usage, which is what actually determines wear.
- High-use doors (six or more cycles daily): Monthly lubrication of hinges, rollers, and spring. Full checklist every fall. Auto-reverse test monthly, because more cycles mean more chances for a sensor to drift or a lens to get dirty.
- Moderate-use doors (three to five cycles daily): Lubrication every two to three months, full checklist every fall. Auto-reverse test every three months.
- Low-use doors (one or two cycles daily): Lubrication twice a year, full checklist every fall. Auto-reverse test every fall.
- Doors over ten years old: Add a monthly visual spring and cable inspection on top of your usual schedule. Older springs and cables can be near the end of their service life regardless of use.
- Doors on detached or unheated garages: Check seals and lubricate on the high-use schedule, whatever the actual cycles. Exposure to full temperature swings ages materials faster than use alone.
A cycle is one open-and-close. A household with two cars and a homeowner who leaves and returns a few times a day is easily at six or more cycles on a weekday. That’s the high-use column, and it’s most of Hamline-Midway. If you’re unsure which category fits, count cycles for a week. The number is usually higher than people guess.
One more note that’s true for Minnesota specifically: the fall checklist is the one that matters most. Whatever schedule you otherwise keep, run the full pre-freeze checklist every single year. The other intervals are maintenance; the fall run is prevention.
A Simple Monthly Routine for Hamline-Midway Homeowners
You don’t need many tools to keep a garage door healthy. You need a garage door lubricant, a cloth, and about fifteen minutes once a month. The point is a routine short enough that you’ll actually do it. Here’s a simple monthly routine that catches the most common failures before they become repair calls.
- Listen first. Before you touch anything, open and close the door once and just listen. A healthy door is quiet. A grinding, popping, or squealing sound is your first warning, and it’s worth writing down where it seems to come from.
- Wipe down the tracks. Run a dry cloth along the inside of each track. Grit from a Hamline-Midway driveway, plus winter road treatment, builds up here and binds the rollers. Don’t grease the tracks afterward.
- Lubricate the hinges. A small drop of garage door lubricant in each hinge knuckle. A door with several panels can have half a dozen or more hinges, so don’t skip the ones near the top.
- Lubricate the rollers. A light spray on the roller bearing only. Skip plastic rollers or use a plastic-safe product; never saturate them.
- Wipe the sensor lenses. Clean the photo-eye sensors near the floor on both sides. This is a two-second job that prevents most false trips.
- Run the auto-reverse test. Use the block method described earlier. It’s the single most important monthly test on the door.
- Look at the spring and cables from the floor. Eyes only. Note color, gaps, rust, or fraying.
If any step turns up a problem, note it and address it before it gets cold. When a check turns up something you don’t want to handle, a call for an estimate is cheaper than an emergency repair in January.
Common Mistakes to Avoid
- Testing auto-reverse by watching the door from inside the garage. You can’t see the door’s response to resistance from that angle, and you can’t safely reach the test block. Test it from outside, with the block in the path and the door closing on it.
- Using WD-40 or thick grease on the door hardware. Both are the wrong product. WD-40 cleans away factory lubricant; thick grease turns into paste in a Minnesota winter. Use a proper garage door lubricant.
- Lubricating the tracks. This is the most common lubrication mistake we see. Grease on a track collects grit and makes the door bind. Clean tracks, no grease.
- Skipping the fall checklist because the door “feels fine.” A door that feels fine in October is exactly when the pre-freeze checklist is most useful. The failure you prevent never shows up.
- Forcing a frozen bottom seal with the opener. When a Hamline-Midway overnight freeze glues the bottom seal to the floor, the opener strains to break it free. That strain lands on the spring and cables. If the door won’t lift, don’t keep pressing the button.
- Touching the springs or cables because “it’s just a visual check.” A ground-level visual check is safe. Any contact with the counterbalance system is not. Leave it to a trained technician.
- Ignoring a single noisy cycle in cold weather. One pop in October is easy to explain away. One pop in January often means a spring that’s already failed. Address the noise when you hear it.
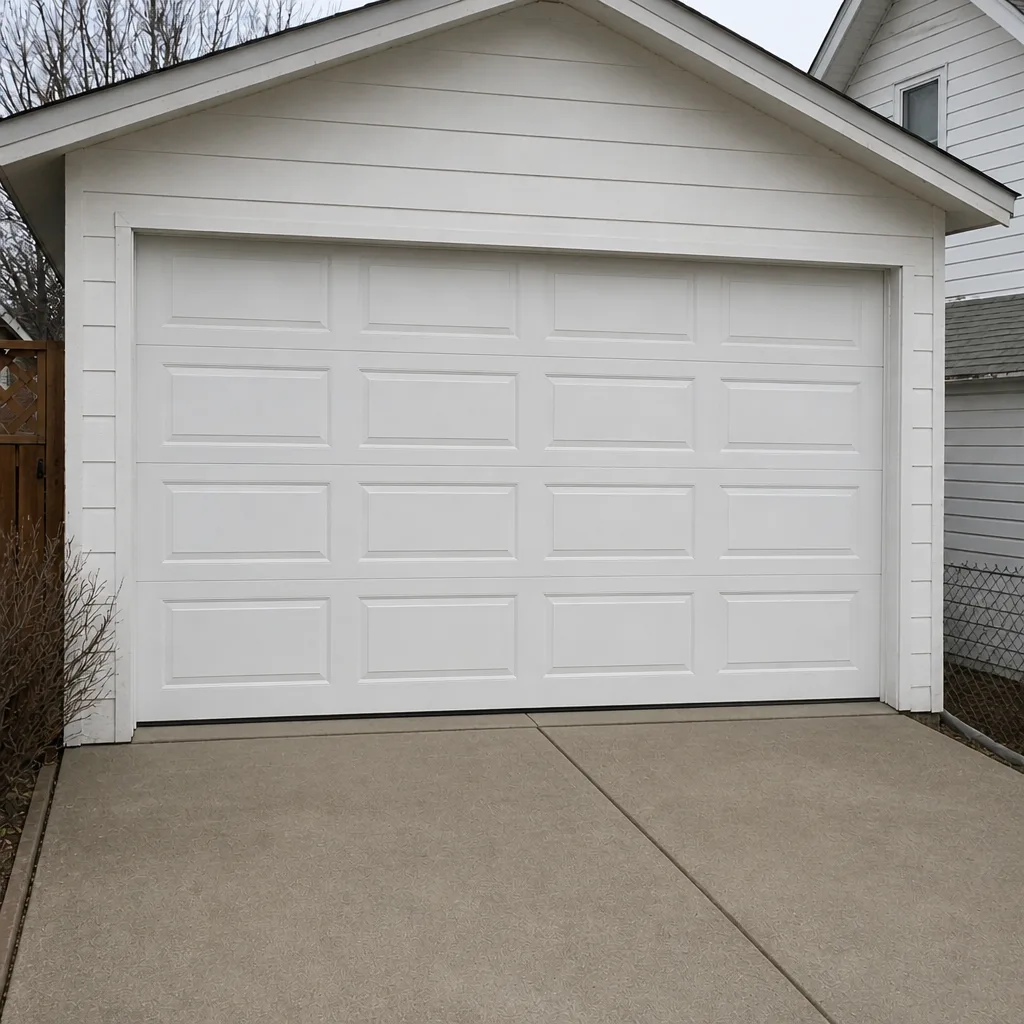
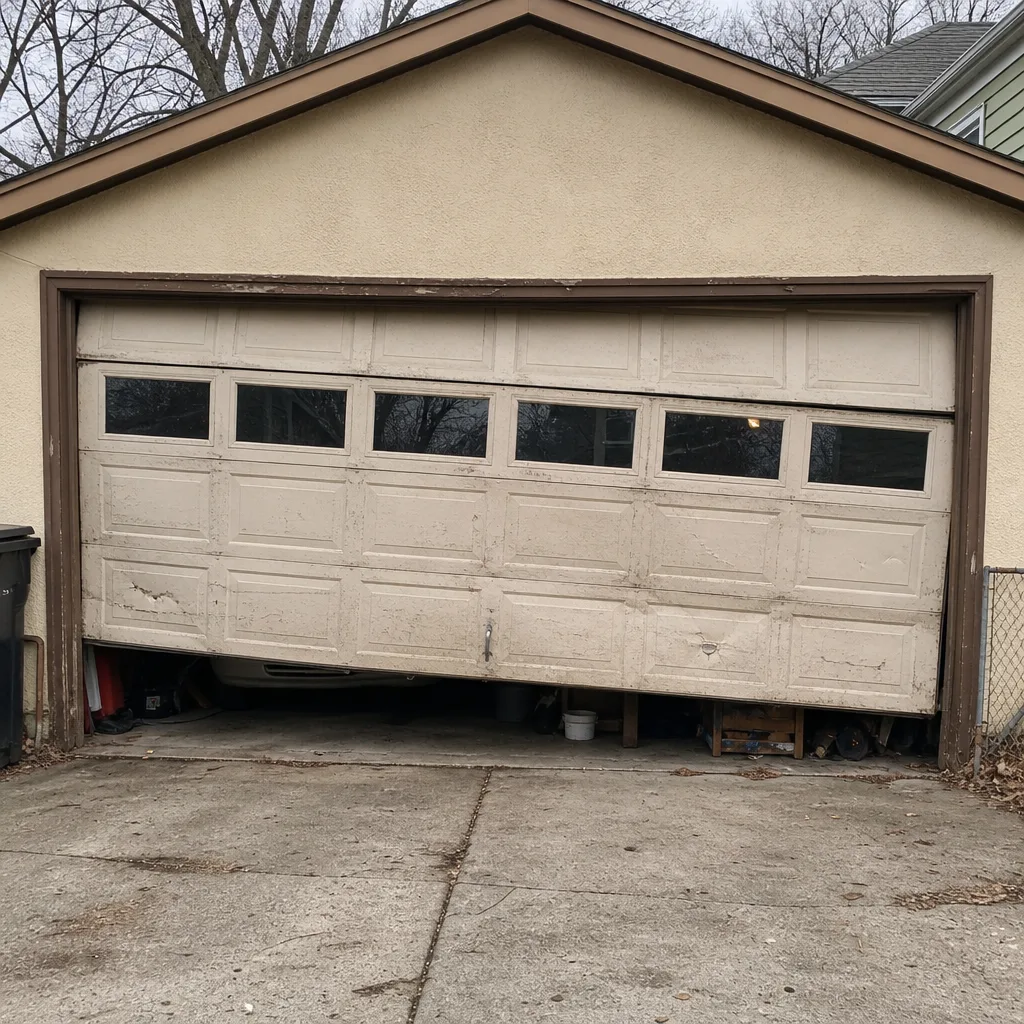
See the difference
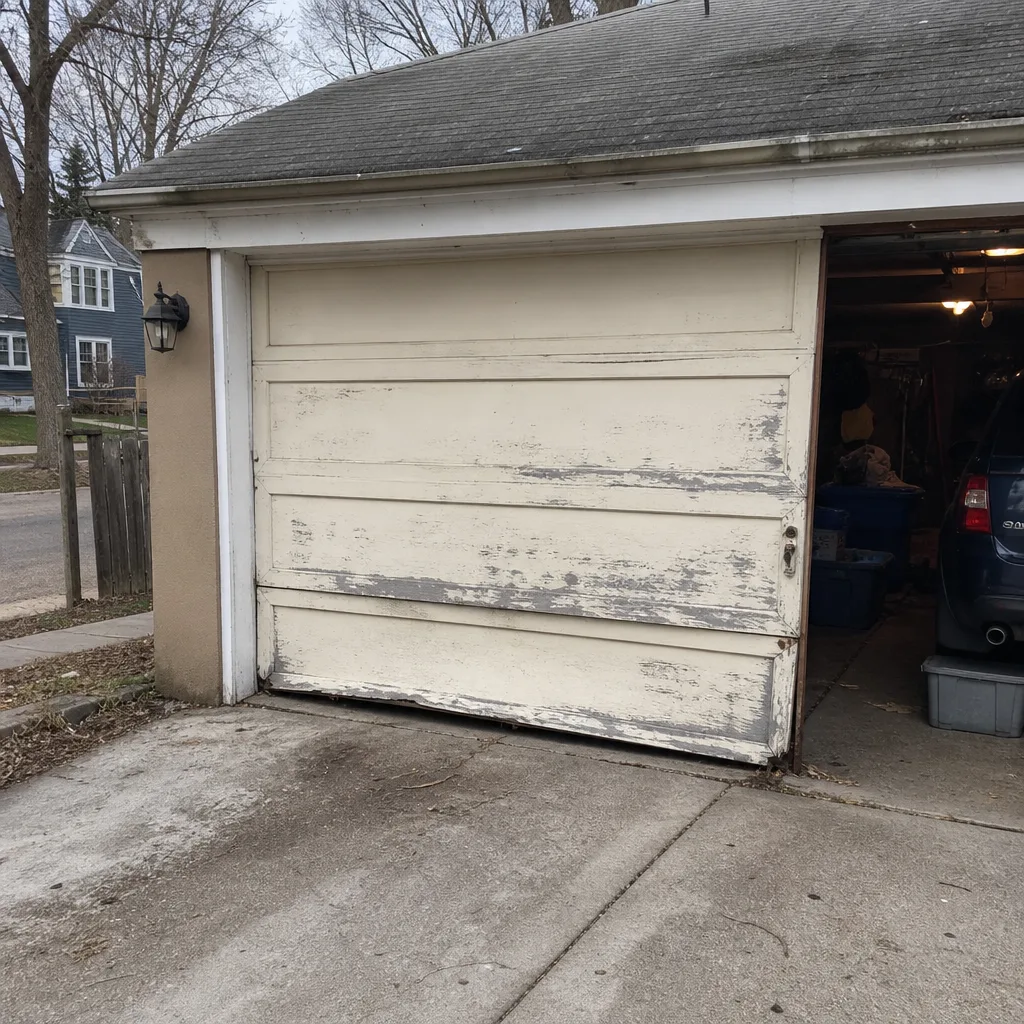 Before
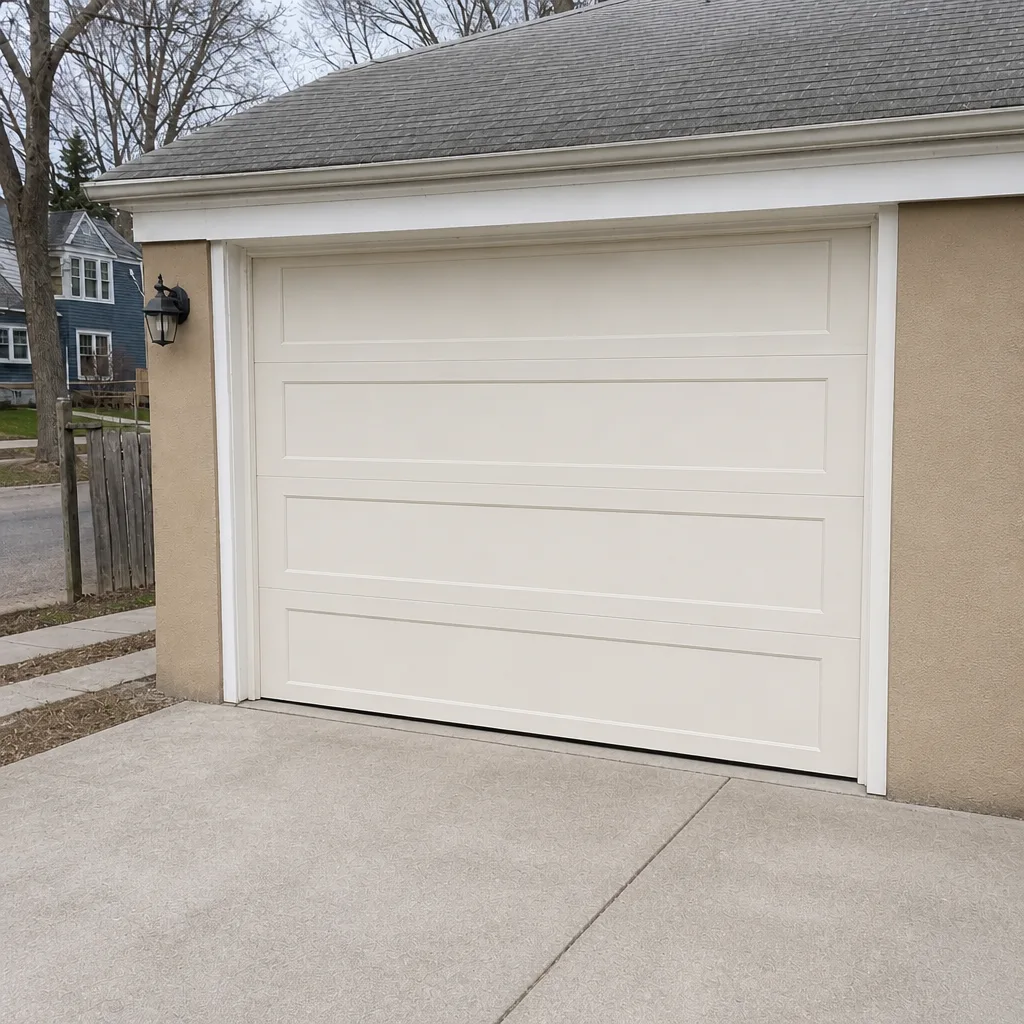 After
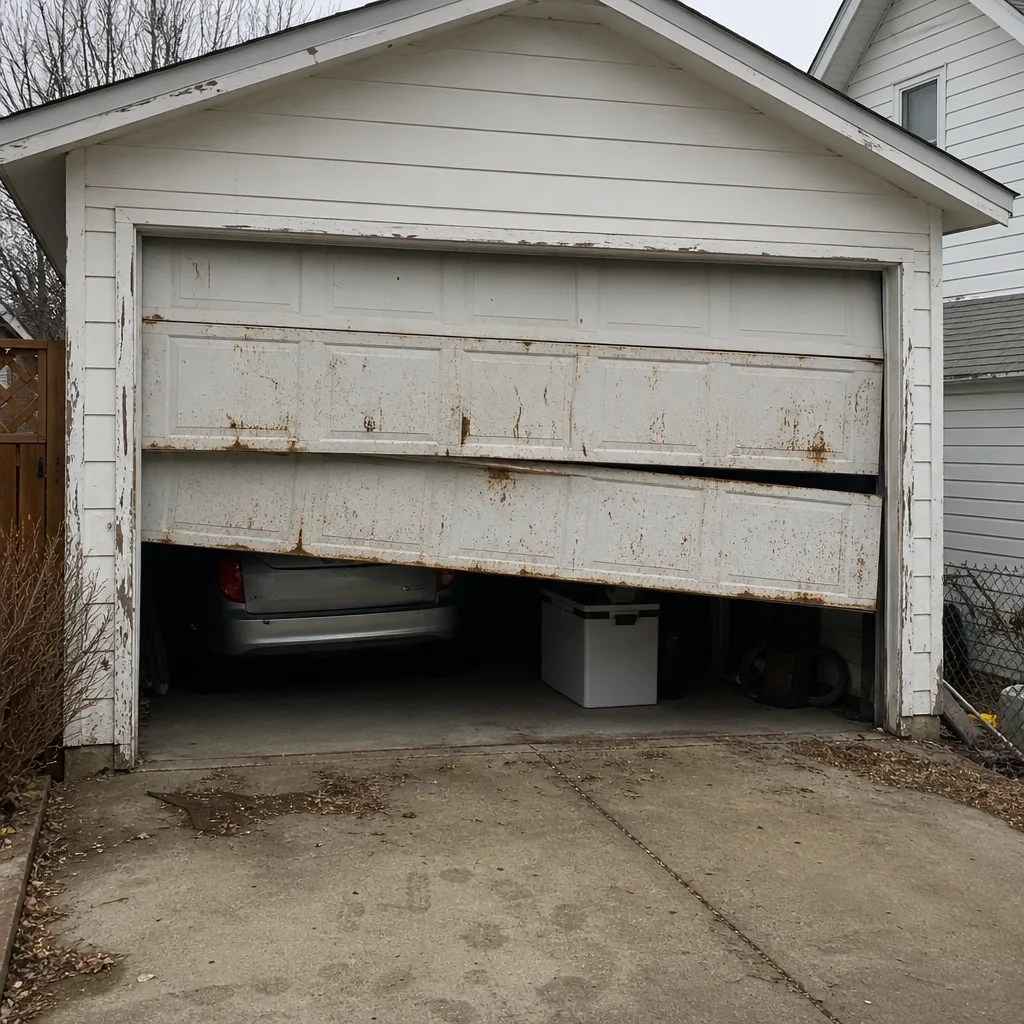 Before
 After
 Before
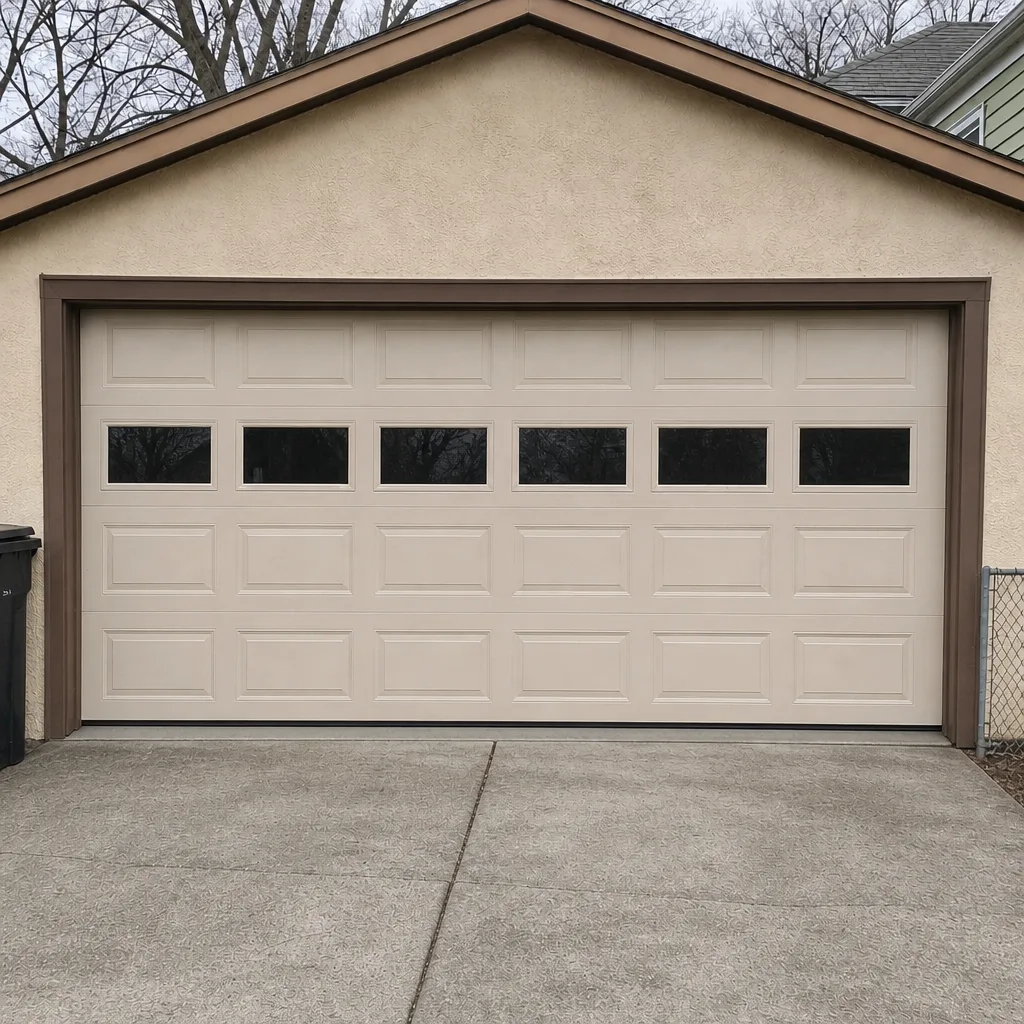 After
When to Call a Professional
Some garage door jobs are safe to do yourself with a checklist and a can of the right lubricant. Others are not, and knowing the line is what keeps you out of trouble.
Call a professional if you hear a loud bang and the door won’t lift (that’s usually a broken spring), if you see a frayed or slack cable, if the door goes up crooked or comes down hard on one side, if the auto-reverse fails after you’ve tried cleaning the sensors, or if the opener runs but the door doesn’t move. Any of these involves the counterbalance system or the safety sensors, and both deserve a trained eye.
Our technicians have up to 8 years of experience with the systems most common in Hamline-Midway garages, and every service call is garage door work only. Garage Door Repair Hamline-Midway offers free estimates in Hamline-Midway; call (855) 771-4075 and we’ll tell you what’s actually wrong before any work begins. For a bigger project like replacing a worn door, garage door installation starts with a free measure and a written price.
Frequently Asked Questions
The pre-freeze checklist, run in the fall before the first hard freeze, is the most important thing you can do. Within it, the weatherstripping compression test and the auto-reverse test protect you the most. Fall is when flexible materials are still workable and failures are still preventable. Call (855) 771-4075 if you’d rather have a technician run the checklist for you; estimates are free.
Watch for color fading, rust, visible gaps between coils, and a door that sounds louder or stiffer than it used to. You can check all of these from the ground with your eyes only. If you see any of them, call a professional before it fails completely. Never touch, adjust, or wind a torsion spring yourself; it’s under extreme tension.
No. Standard WD-40 is a solvent and water displacer, not a garage door lubricant. It cleans away the factory lubricant, and on plastic or nylon rollers it can degrade the material over time. Use a garage door-specific lubricant, either silicone-based or lithium-complex, and apply it to the bearing only.
At minimum, run a full checklist every fall before the freeze. Beyond that, match your lubrication and inspection schedule to your daily cycles: monthly for high-use doors (six or more cycles daily), every two to three months for moderate use, and twice a year for low use. A door over ten years old benefits from a monthly spring and cable visual check regardless.
Most doors will get through a winter without a breakdown. But the checks catch the failures that are brewing, and once the cold arrives those failures move fast. A door that would have been a simple fix in October is often an emergency repair in January. A free estimate before the freeze is cheaper and easier than a mid-winter call, and you’ll have clear answers without being oversold on parts you don’t need.
Sometimes it’s just temperature: cold makes grease stiff and ice can bind the bottom seal. But if the door is noticeably harder to open, sounds strained, or won’t lift at all, that’s a sign the spring or cables are losing tension. Don’t keep forcing it with the opener. Call (855) 771-4075 and we’ll diagnose it; same-day service is often available for repair calls in Hamline-Midway.
The Bottom Line
Garage door maintenance in a Minnesota climate isn’t about occasional lubrication. It’s about timing. Run a proper pre-freeze checklist every fall, matched to your door’s daily cycles. Test auto-reverse the correct way, with the block. Use a real garage door lubricant instead of WD-40 or thick grease, and never grease the tracks. Inspect springs and cables from the ground, with your eyes only. Do these things and most of the winter breakdowns that fill January service calls never happen. Skip them and the problem that was visible in October becomes the repair you’re making in January. If you’d rather hand the whole checklist to someone who works on garage doors every day, that’s what we do. Call (855) 771-4075 for a free estimate.
Written by the team at Garage Door Repair Hamline-Midway.